Raspberry PiにAlexa Voice Serviceを導入してAlexa対応デバイスにする
Raspberry PiにAlexa Voice Service(AVS)を組み込んで、Alexa対応デバイスとして使えるようにしてみます! セットアップの手順はこちらの記事を参考にしてください。 coxcox.hatenablog.com
使用するRaspberry Pi は Raspberry Pi 3 Model B+ です。
Amazon Developer で製品登録を行う
下記のサイトにアクセスし、「ログイン」をクリックします。 https://developer.amazon.com/ja/alexa-voice-service

Amazon Developerのアカウントでログインします。
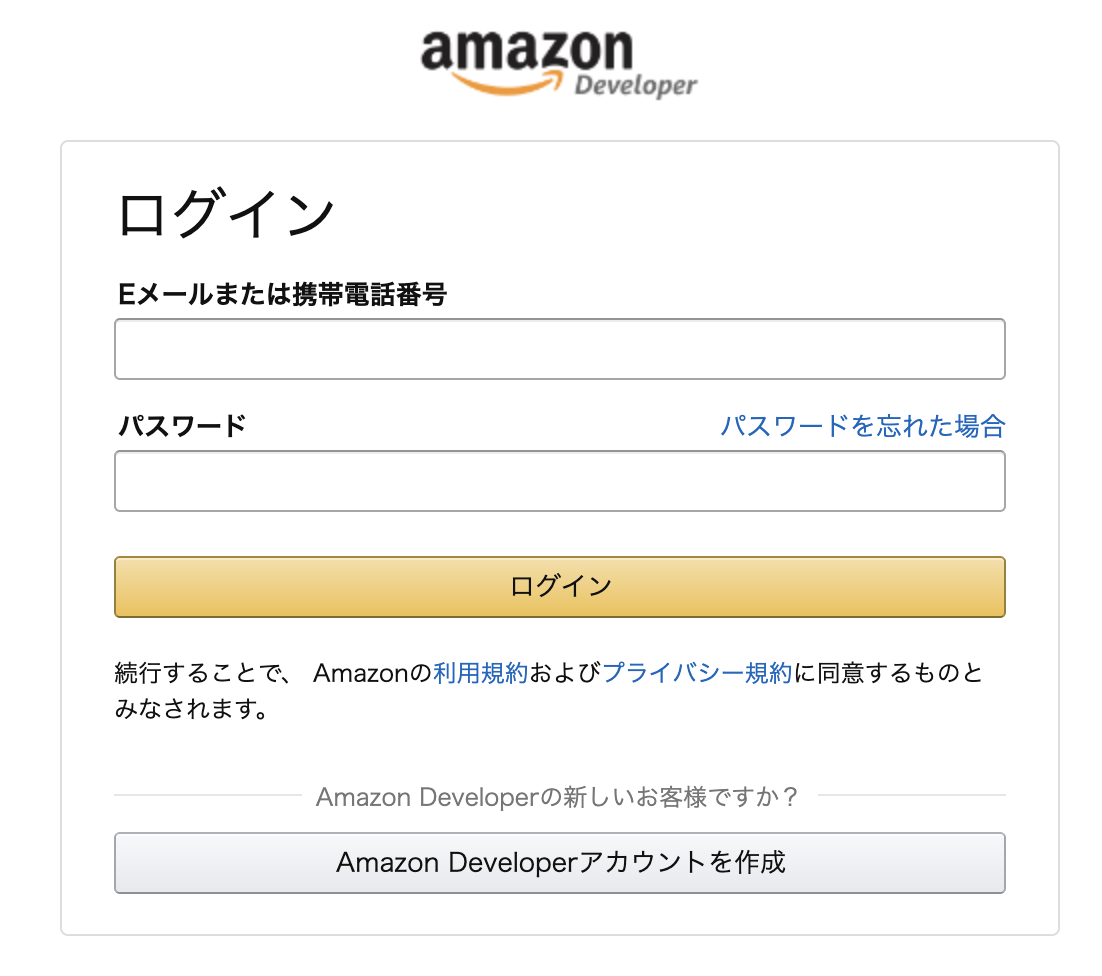
メニューから「Alexa」> 「Alexa Voice Service」を選択します。

メニューから「製品」を選択します。

「製品を作成する」ボタンから製品の情報を登録します。

「製品情報」に以下のように情報を入力します。
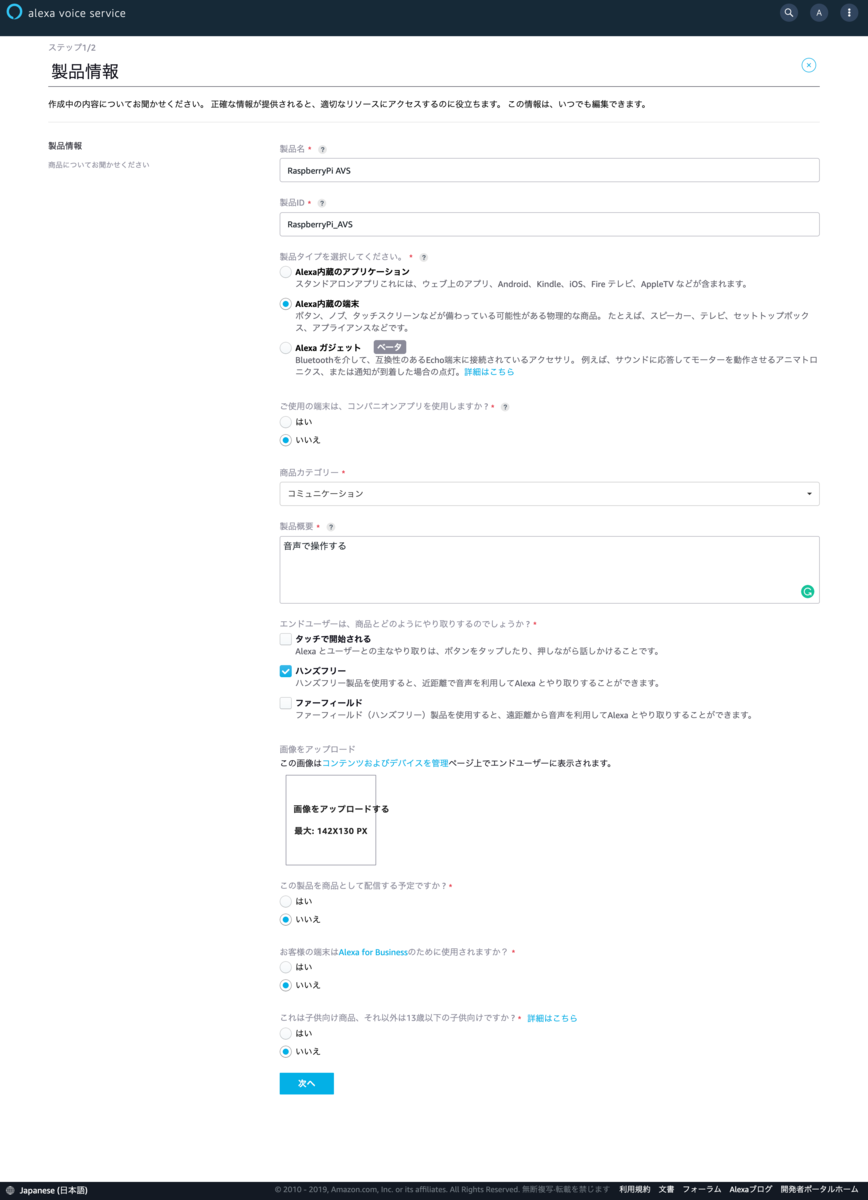
「LWA セキュリティプロファイル」で「プロフィールを新規作成する」をクリックし、セキュリティプロファイルを新規作成します。
※既に存在する場合は、任意のセキュリティプロファイルを選択してください。

Raspberry Piで必要になるプロファイル情報をダウンロードします。
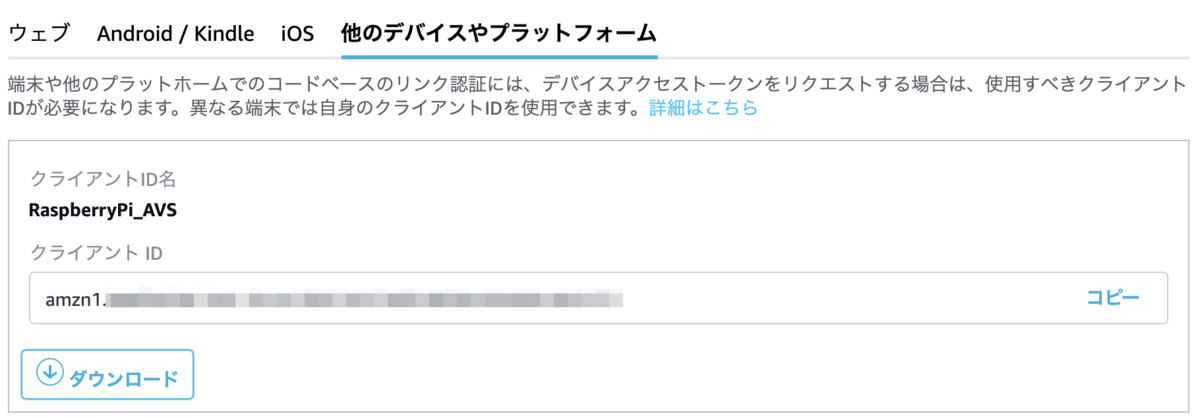
「他のデバイスやプラットフォーム」タブに移り、「クライアントID名」を入力し、「一般ID」をクリックします。

すると、クライアントIDが生成されるので、「ダウンロード」をクリックします。
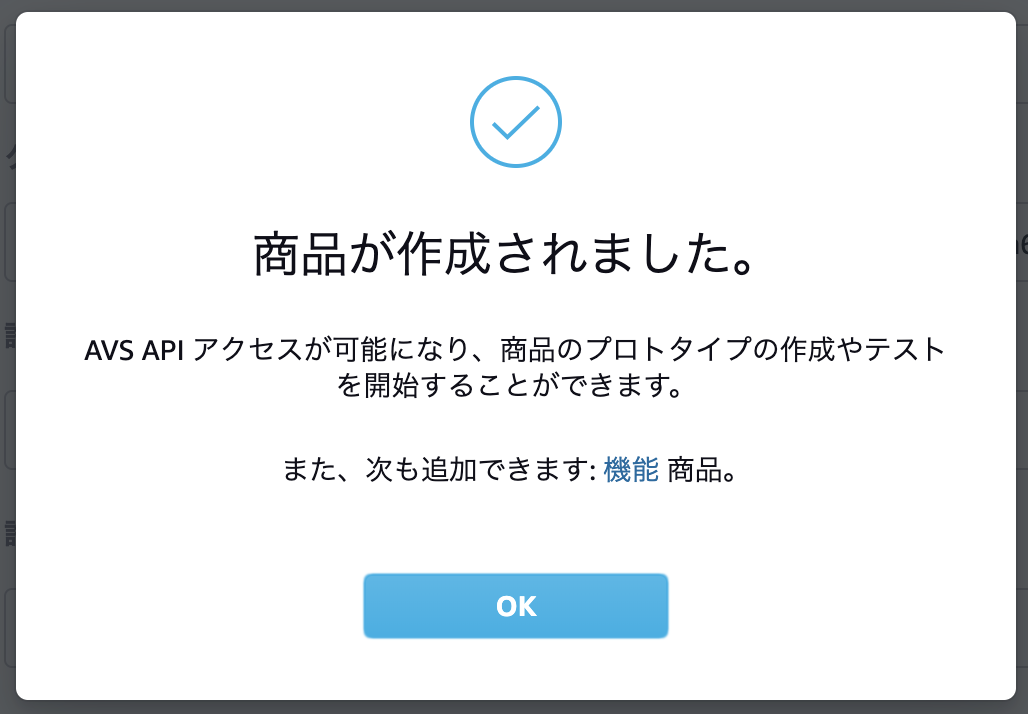
最後に「これらの書面に合意します:〜」にチェックを入れ、「完了」をクリックします。

これで製品の登録ができました!
Rapberry PiへAVSをインストールする
まずは、Raspberry PiにSSHで接続した状態でスワップを確保しておきます。
pi@raspberrypi:~ $ sudo vi /etc/dphys-swapfile
変更前:CONF_SWAPSIZE=100
 ↓
変更後:CONF_SWAPSIZE=1024
スワップを有効にするためサービスを再起動します。
pi@raspberrypi:~ $ sudo systemctl restart dphys-swapfile
必要なファイルをダウンロードします。
pi@raspberrypi:~ $ wget https://raw.githubusercontent.com/alexa/avs-device-sdk/master/tools/Install/setup.sh \
wget https://raw.githubusercontent.com/alexa/avs-device-sdk/master/tools/Install/genConfig.sh \
wget https://raw.githubusercontent.com/alexa/avs-device-sdk/master/tools/Install/pi.sh
先ほどAVSの製品登録でダウンロードしたセキュリティプロファイルをローカルからRaspberry Pi側にコピーします。
$ scp config.json pi@raspberrypi.local:/home/pi
setup.shを実行します。「AGREE」を入力してくださいと言われるので、「AGREE」を入力してEnterキーを押下してください。
また実行途中でライセンス同意が求められるので、「yes」を入力してEnterキーを押下してください。
pi@raspberrypi:~ $ cd /home/pi/
pi@raspberrypi:~ $ sudo bash setup.sh config.json
################################################################################
################################################################################


AVS Device SDK Raspberry pi Script - Terms and Agreements


The AVS Device SDK is dependent on several third-party libraries, environments,
and/or other software packages that are installed using this script from
third-party sources ("External Dependencies"). These are terms and conditions
associated with the External Dependencies
(available at https://github.com/alexa/avs-device-sdk/wiki/Dependencies) that
you need to agree to abide by if you choose to install the External Dependencies.


If you do not agree with every term and condition associated with the External
Dependencies, enter "QUIT" in the command line when prompted by the installer.
Else enter "AGREE".


################################################################################
################################################################################
AGREE ←入力する
 :
Press RETURN to review the license agreement and update the files. _
 :
Do you accept this license agreement? [yes or no]:  yes ←入力する
 **** Completed Configuration/Build ***
トークンの認証
サンプルアプリを実行すると、トークンの認証をするように促されます。
pi@raspberrypi:~ $ cd /home/pi/
pi@raspberrypi:~ $ sudo bash startsample.sh
 :
##################################
#       NOT YET AUTHORIZED       #
##################################

################################################################################################
#       To authorize, browse to: 'https://amazon.com/us/code' and enter the code: XXXXX       #
################################################################################################

2019-05-05 06:40:52.106 [  4] 5 CBLAuthDelegate:handleRequestingToken
#################################################
#       Checking for authorization (1)...       #
#################################################
下記サイトにアクセスし、トークンを入力して「Continue」をクリックします。 https://amazon.com/us/code
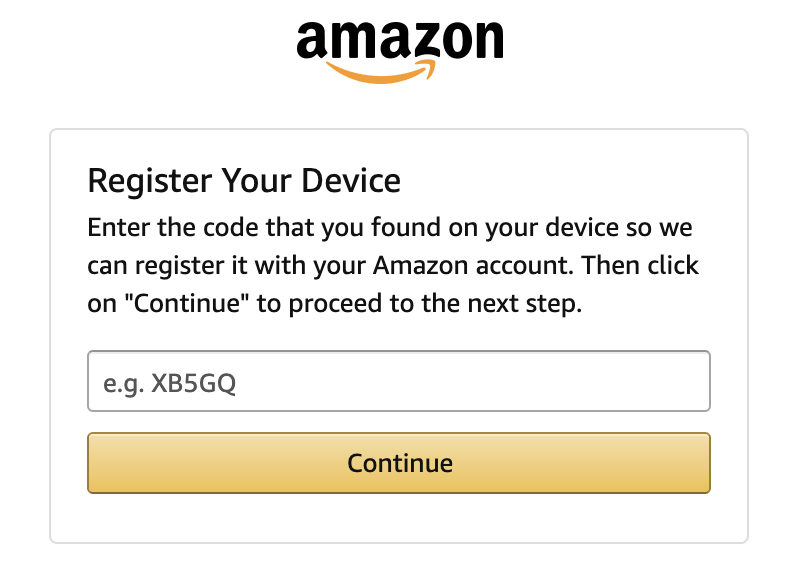
AVSとAlexaアカウントを連携しますよと言われるので、「Allow」をクリックします。

「Success!」が表示されれば認証完了です!

Alexaに話しかける
再度サンプルアプリを実行します。
pi@raspberrypi:~ $ cd /home/pi/
pi@raspberrypi:~ $ sudo bash startsample.sh
 :
########################################
#       Alexa is currently idle!       #
########################################
"Alexa, What time is it?"などと話しかけると、応答してくれると思います!
おまけ(呼びかけや発話に合わせてLEDを点灯させる)
公式のチュートリアルを参考にAlexaへの呼びかけや発話に合わせてRaspberry PiのLEDを点灯させるようにしてみました。 https://developer.amazon.com/ja/docs/alexa-voice-service/indicate-device-state-with-leds.html
Raspberry PiにLEDを接続する
下記の回路図を参考に、部品を配置していきます。

AVS Device SDKのファイルを編集する
LEDを点灯させるため、3つのファイルを編集します。
pi@raspberrypi:~ $ sudo vi /home/pi/avs-device-sdk/SampleApp/src/main.cpp
 :
20行目あたり
#include <cstdlib>
#include <string>

#include <wiringPi.h> ←追加
#define PIN_LED (24) ←追加

using namespace alexaClientSDK::sampleApp;
 :
50行目あたり
int main(int argc, char* argv[]) {
    wiringPiSetupGpio(); ←追加
    pinMode(PIN_LED, OUTPUT); ←追加

    std::vector<std::string> configFiles;
 :
pi@raspberrypi:~ $ sudo vi /home/pi/avs-device-sdk/SampleApp/src/UIManager.cpp
 :
15行目あたり
#include <iostream>
#include <sstream>

#include <wiringPi.h> ←追加
#define PIN_LED (24) ←追加

#include "SampleApp/UIManager.h"
 :
460行目あたり
void UIManager::printWelcomeScreen() {
    digitalWrite (PIN_LED, LOW); ←追加
    m_executor.submit([]() { ConsolePrinter::simplePrint(ALEXA_WELCOME_MESSAGE); });
}
 :
530行目あたり
void UIManager::microphoneOff() {
    digitalWrite (PIN_LED, HIGH); ←追加
    m_executor.submit([]() { ConsolePrinter::prettyPrint("Microphone Off!"); });
}
 :
550行目あたり
void UIManager::microphoneOn() {
    digitalWrite (PIN_LED, LOW); ←追加
    m_executor.submit([this]() { printState(); });
}
 :
575行目あたり
switch (m_dialogState) {
            case DialogUXState::IDLE:
                digitalWrite (PIN_LED, LOW); ←追加
                ConsolePrinter::prettyPrint("Alexa is currently idle!");
                return;
            case DialogUXState::LISTENING:
                digitalWrite (PIN_LED, HIGH); ←追加
                ConsolePrinter::prettyPrint("Listening...");
                return;
            case DialogUXState::EXPECTING:
                ConsolePrinter::prettyPrint("Expecting...");
                return;
            case DialogUXState::THINKING:
                digitalWrite (PIN_LED, LOW); ←追加
                ConsolePrinter::prettyPrint("Thinking...");
                return;
            case DialogUXState::SPEAKING:
                digitalWrite (PIN_LED, HIGH); ←追加
                ConsolePrinter::prettyPrint("Speaking...");
                return;
pi@raspberrypi:~ $ /home/pi/avs-device-sdk/SampleApp/src/CMakeLists.txt
 :
target_link_libraries(SampleApp "-lwiringPi") ←追加
サンプルアプリをビルドする
pi@raspberrypi:~ $ cd /home/pi/build/SampleApp
pi@raspberrypi:~ $ sudo make
pi@raspberrypi:~ $ cd /home/pi/
pi@raspberrypi:~ $ sudo bash setup.sh config.json
サンプルアプリを実行する
サンプルアプリを実行し、Alexaに話しかけてみます。
pi@raspberrypi:~ $ sudo bash startsample.sh
呼びかけや発話に合わせてLEDが点灯すればOKです!
公式の手順には「1時間もあれば終わるよ〜」って書いてありましたが、色々ハマって1日かかりました・・。 Raspberry Pi 2もサポートしているらしいのですが、うまくいかなかったので推奨のRaspberry Pi 3で試してみたらうまくいきました。